Kodeclik Blog
How to get the value of a clicked button in Javascript
We will learn how to setup buttons on your Javascript webpage and how to obtain the value of a button once it is clicked by the user. To understand how to do this, we will write and embed our Javascript code inside a HTML page like so:
<!DOCTYPE html>
<html>

<head>
  <meta charset="utf-8">
  <meta name="viewport" content="width=device-width">
  <title>Get the value of a clicked button in Javascript</title>
</head>

<body>
  <script>
  </script>
</body>

</html>
In the above HTML page you see the basic elements of the page like the head element containing the title (“Get the value of a clicked button in Javascript”) and a body with an empty script tag. Any HTML markup goes inside the body tags and any Javascript code goes inside the script tags.
Setting up your buttons
First let us setup some buttons:
<body>
<h2>Kodeclik Button Tutorial</h2>
<button>
  Humpty
</button>
<button>
  Dumpty
</button>
<button>
  Sat on a Wall
</button>

<script>
</script>
</body>
The page will look like:
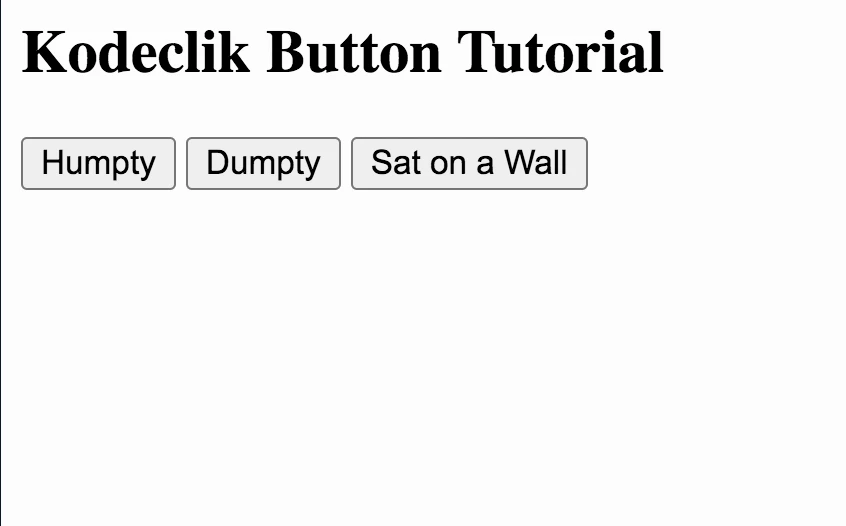
If you try clicking on these buttons, nothing will happen because we haven’t written any code to describe the actions to take upon a button click. First, let us assign id, name, and value attributes to each button. Here is how that would look:
<body>
<h2>Kodeclik Button Tutorial</h2>
<button id="1" name="Button1" value="Humpty">
  Humpty
</button>
<button id="2" name="Button2" value="Dumpty">
  Dumpty
</button>
<button id="3" name="Button3" value="Sat on a Wall">
  Sat on a Wall
</button>

<script>
</script>
</body>
The output will still be the same as before. Note that each button HTML element now has an id, a name, and a value. The value corresponds to the text on the button. The id and name are descriptive and unique names to each button.
Now let us write an “onclick” handler function for each button prescribing what each function should do. Here is how that code will look. For simplicity, we write the handler for only the first button:
<body>
<h2>Kodeclik Button Tutorial</h2>
<button id="1" name="Button1" value="Humpty" onclick="f()">
  Humpty
</button>
<button id="2" name="Button2" value="Dumpty" onclick="g()">
  Dumpty
</button>
<button id="3" name="Button3" value="Sat on a Wall" onclick="h()">
  Sat on a Wall
</button>

<script>
  function f() {
    document.write("Humpty" +"<BR>")
  }
</script>
</body>
If we click on the first button, we get:
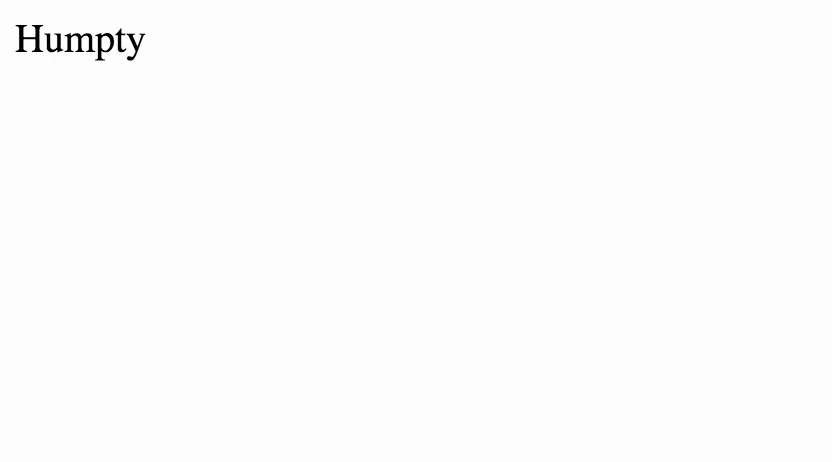
Wow - what happened? If you use the document.write() method on an already loaded page (as is the case here) it will delete all existing HTML and proceed to render a fresh page. This is why all the previous elements, buttons, etc. are removed. If you would like to update the previous page we must do:
<body>
<h2>Kodeclik Button Tutorial</h2>
<button id="1" name="Button1" value="Humpty" onclick="f()">
  Humpty
</button>
<button id="2" name="Button2" value="Dumpty" onclick="g()">
  Dumpty
</button>
<button id="3" name="Button3" value="Sat on a Wall" onclick="h()">
  Sat on a Wall
</button>
<H2 id="message">
</H2>

<script>
  function f() {
document.getElementById("message").innerHTML = "Humpty"
  }
</script>
</body>
Note that we have created a new element, a H2 element, and given it an id of “message”. Inside the function f() we access this element using the getElementById method and then set its innerHTML value to “Humpty”. Now when we clicked on the Humpty button, we get:
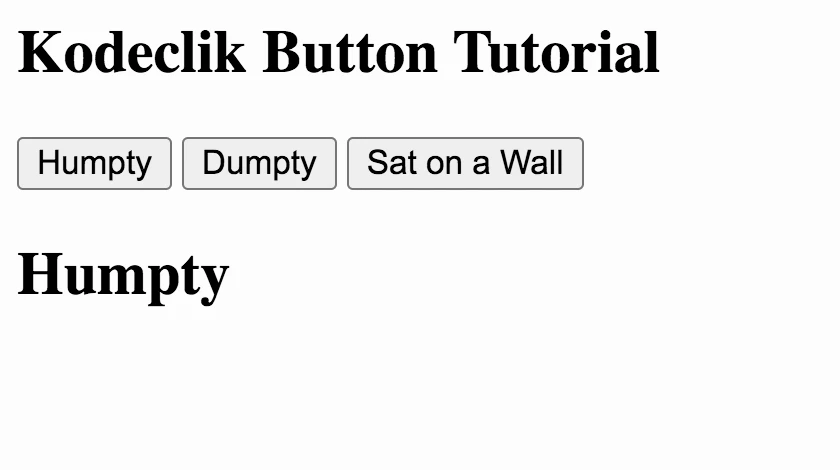
Note that the script does not load a new page but instead updates an element on the current page.
We can expand the script to add the additional functions:
<body>
<h2>Kodeclik Button Tutorial</h2>
<button id="1" name="Button1" value="Humpty" onclick="f()">
  Humpty
</button>
<button id="2" name="Button2" value="Dumpty" onclick="g()">
  Dumpty
</button>
<button id="3" name="Button3" value="Sat on a Wall" onclick="h()">
  Sat on a Wall
</button>
<H2 id="message">
</H2>

<script>
  function f() {
    document.getElementById("message").innerHTML = "Humpty"
  }
  function g() {
    document.getElementById("message").innerHTML = "Dumpty"
  }
  function h() {
    document.getElementById("message").innerHTML = "Sat on a Wall"
  }
</script>
</body>
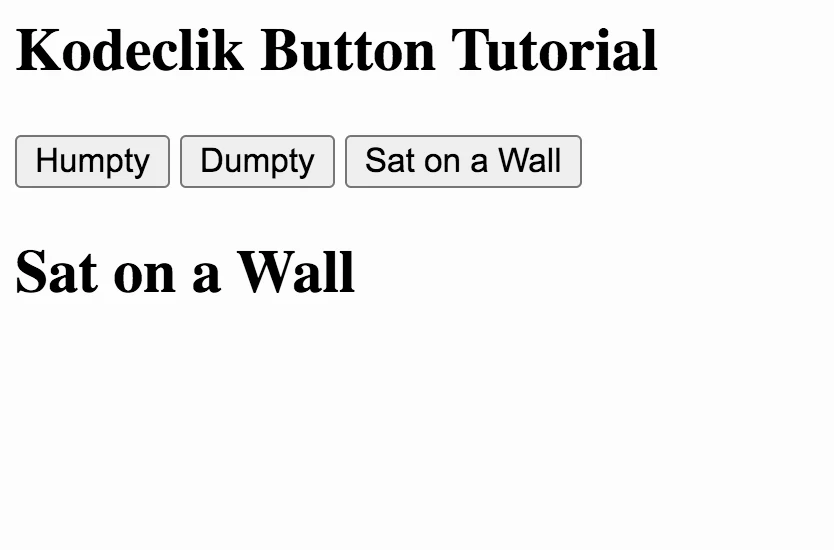
Now when we click the buttons one by one, the messages are overwritten because the same element is overwritten, eg:
Simplifying our code
The above type of code can get unwieldy. Here is a simple way to standardize this with just one function for all buttons. We invoke the function with an argument that is the value of the current button. This value is then accessed inside the function for printing purposes.
<body>
<h2>Kodeclik Button Tutorial</h2>
<button id="1" name="Button1" value="Humpty" onclick="f(this.value)">
  Humpty
</button>
<button id="2" name="Button2" value="Dumpty" onclick="f(this.value)">
  Dumpty
</button>
<button id="3" name="Button3" value="Sat on a Wall" onclick="f(this.value)">
  Sat on a Wall
</button>
<H2 id="message">
</H2>

<script>
  function f(val) {
document.getElementById("message").innerHTML = val;
  }
</script>
</body>
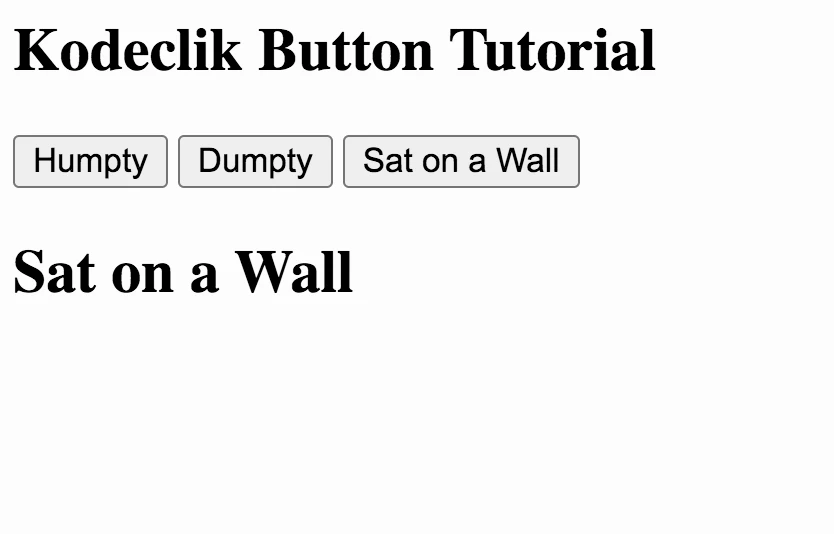
The functionality of the page is the same as before. When the third button is clicked, we get:
You have learnt how to get the value of a button clicked in Javascript. How will you make use of this in your own program? Try it out and let us know!
If you liked this blogpost, learn how to hide dropdown values in Javascript.
Interested in learning more Javascript? Learn how to loop through two Javascript arrays in coordination and how to make a Javascript function return multiple values!
Want to learn Javascript with us? Sign up for 1:1 or small group classes.